The decision of what kind of foundation you will need is dependent upon the size of your outhouse. Prepare your spot by first removing any grass and then covering the area of compacted (https://shedconstructionplans.com/8×12-hip-roof-shed-plans-blueprints) soil with 2 inches of gravel. The gravel bed will make sure that the soil beneath the outbuilding will not wash away. There are two basic types of outhouse foundations known as on grade and permanent. outbuildings that are smaller than 200 feet square are best constructed upon on-grade foundations.
These smaller foundations are typically made of solid concrete blocks or wooden timbers placed directly on the ground. When placing timber directly on the ground be sure that it is green or pressure-treated. The best kind of concrete block to use is one that is not hollow as those provide minimal support. To make a supportive on grade foundation just lay out your blocks or skids in straight evenly spaced rows. By properly constructing a foundation with the correct materials you will guarantee a durable shed.
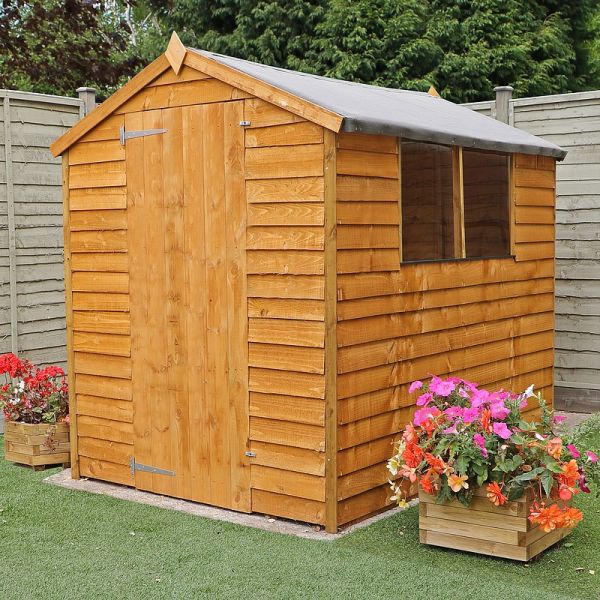
Since most storage outhouses don’t have electricity install windows to add light to the interior. If you are in the northern hemisphere it is best to affix your windows on the walls that face the east and south. Add classic charm to your outbuilding by using sash windows to let light in. Straightforward single pane windows with plain frames made of wood should be available at any outdoor store. Installation of these windows is easy because you can install them upright or sideways. Don’t make the mistake of using too many windows as you can rob yourself of wall space. Hanging storage and shelving will be plentiful if you opt for a skylight instead of multiple windows. The most inexpensive skylights are dome-shaped plastic ones that are available in any home center. To install a plastic dome skylight simply make a space in the roof sheathing and nail the skylight into place. Plastic domes are not the most striking of skylights so place it in a discreet spot on the roof.
Sliding doors and hinged doors are the two most regularly installed in outhouses. A benefit of doors that are fastened with hinges is that they take (look at more info) up a minimum amount of space. Sliding doors glide out of the way completely and are easier to install because they don’t have to be stiff. Keep in mind that if you install a sliding door you will need sufficient room on one wall. Medium to small sized outhouses should opt for hinged doors as opposed to sliding doors.
Regardless of the type of door that is used the wall with largest breadth is the ideal location for installation. The most helpful tip when fitting any door is to measure at least two times before cutting. Nothing is more irritating than having a door that is ill-fitting. There are a variety of different hinge options available at any hardware store. Choose a sturdy hinge arrangement that will support a heavily used door.
The floor in any outbuilding is often open to rain and water damage and will rot quickly. Green lumber that was pressure-treated is the best choice to use in outbuildings. Untreated construction lumber may cost less but eventually it will rot and ruin your building. You will need mudsills and floor and perimeter band joists to build a outbuilding floor. Mudsills sit directly atop your wood or concrete foundation and support the frame.
Band and floor joists will be used on top of the mudsill and on the outer edge for protection and support. For the outbuilding’s floorboards you should use ¾-inch thick exterior grade plywood. Never use plywood thinner than ¾-inch because the floor will flex between joists. In order to gain more rigidity you can also install ¾-inch tongue plywood that locks the edges of the sheets together. Fasten down the plywood with 2-inch long galvanized decking screws.
