If you want to use a outhouse for more than just storage you will want to include electricity in the storage outhouse drawings. Working with electricity can be dangerous so be aware of what is safe and practical. (https://shedconstructionplans.com/12×12-garden-shed-plans-blueprints) To install electricity you must only use SWA cables. If you don’t want an ugly cable snaking its way along your outbuilding you can run it underground. Choosing to bury your wiring requires that you place it a minimum of 3 feet underground. Try adding solar panels in order to either replace electrical wires or to supplement your power. Direct light must reach the solar panel for most of the day in order to provide sufficient energy. To install a solar panel simply use a mounting kit that is available in any home center. When running the cable from the solar panel be sure that it is not crushed or bent. Consider buying wind turbines for an energy supply if you have a lot of wind.
Condensation in your shed can reduce the length of time your structure lasts. The growth of mold and mildew is encouraged by too much moisture around your outhouse. The easiest way to guard against decay is to make sure there is plenty of air movement around your outbuilding. According to garden outbuilding blueprints the lowest wood member should be built a minimum of 6 inches from the compacted ground. Air will have plenty of space under the outhouse to dry condensation and save the floor. Leave no less than two to three feet of empty area surrounding the outhouse. Proper space around your outhouse will give any wind the opportunity to help keep the outhouse dry. You can prevent a damp atmosphere where mildew loves to grow by making sure plenty of sun hits the shed. It is much easier to paint or repair your new putting together with extra space around it. If you have a small space to work with try installing vents to help with air flow.
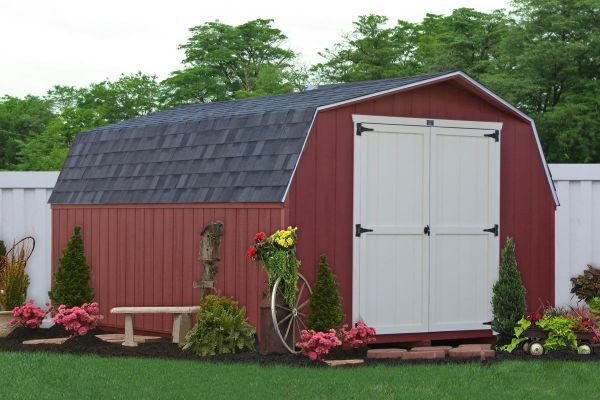
Spend more now on long lasting putting together materials so that you will not have to deal with a rundown outbuilding in the future. We recommend using panels of PVC trim in whatever color called for in your backyard outhouse building (continue reading this) plans. You will never have to worry about your plastic PVC edging splitting or rotting like wood. Extend the life of your windows by using aluminum which is resistant to corrosion and will not crack or split. The added bonus of using aluminum windows is that they are extremely effective in saving energy and keeping heat in or out. Aluminum is a great choice with regards to environmentally sustainable material and was one of the highest recycling rates. Faux-slate roof shingles are made from combinations of plastic and rubber. Authentic shingles made of slate have been the roofing material of choice for decades but consider using shingles made of synthetic materials. Slate made of synthetic materials is more cost-effective than genuine slate and last longer. All types of manufactured faux slate can be recycled at the end of a roof’s usable life.
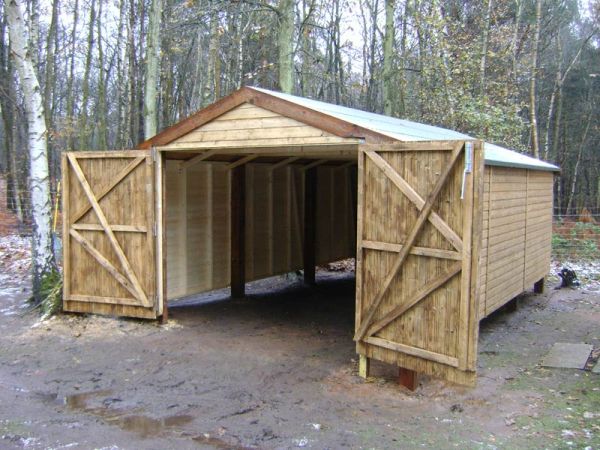
The roof trusses will be an important element in the outhouse blueprints because they support the plywood and shingles that make the roof waterproof. For easier installation it is best that you assemble all your timber on a concrete floor horizontally. Choose a sunny day to start working on your roof truss so that you don’t get any timber damp. If you frame your roof one rafter at a time you will spend half the day crawling up and down ladders. With prebuilt roof trusses you will cut out most of the work on the ladder. Industrial trusses come constructed with the ceiling joist firmly secured to roof rafters. All parts of a truss are held together with plywood gusset plates. Position your trusses at least sixteen inches apart when installing. Any beginner can learn how to use industrial trusses for roofing. Call your local lumberyard for prices and options regarding roof trusses.”
